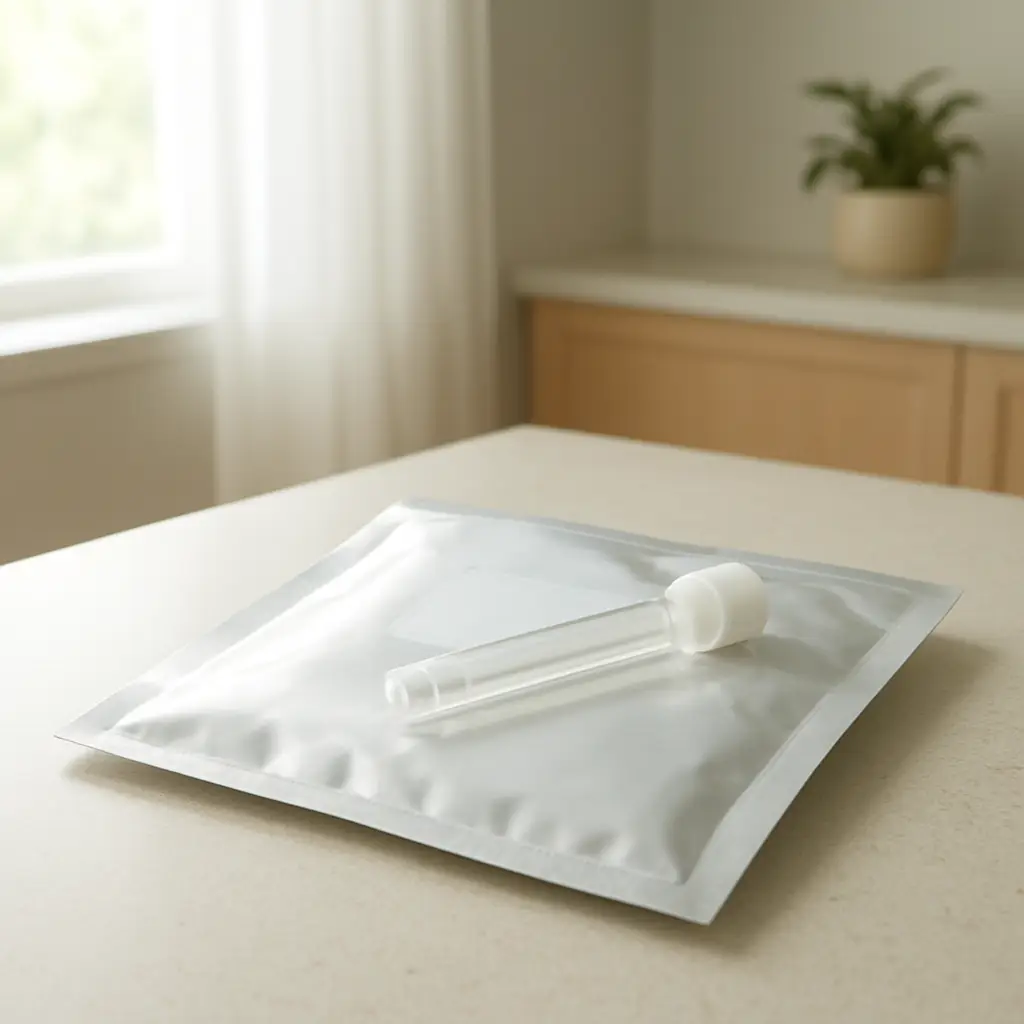
1. Read first
Review the printed or digital instructions before collecting. This helps you understand the container, sample amount, labeling, and return packaging.
Learning how to collect a microbiome sample before your kit arrives can make the process feel easier, cleaner, and less confusing.
This page explains the general home collection flow, what to prepare, what to avoid, and how sample return usually connects to your results. If you are still comparing options, you can also review the microbiome test kit page before ordering.
This page is for general education only. Always follow the exact instructions included with your kit, because sample handling details can vary by test.
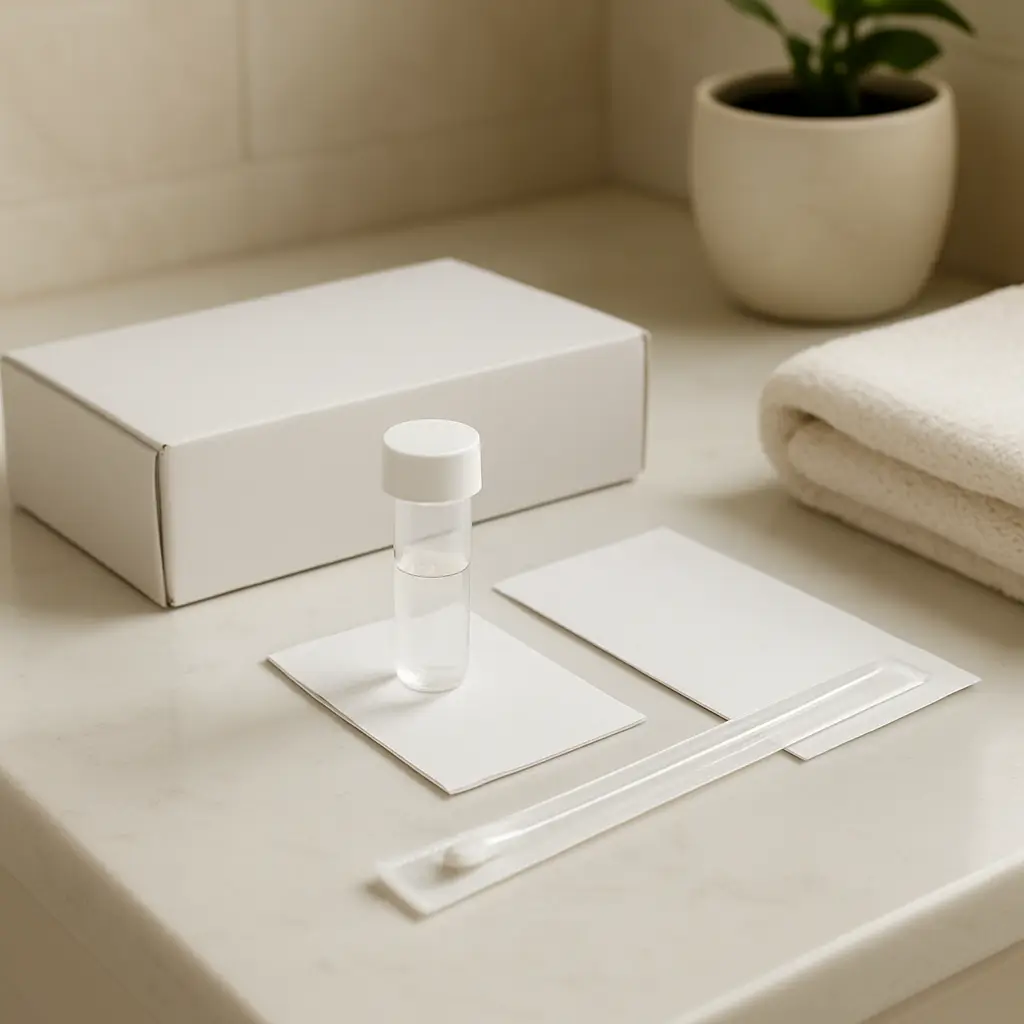
A good collection experience starts before the sample is taken. Read the kit instructions all the way through, check the materials, and make sure you understand the timing and return steps.
If you have not ordered yet, review how it works and the shipping page so you know what usually happens before and after collection.
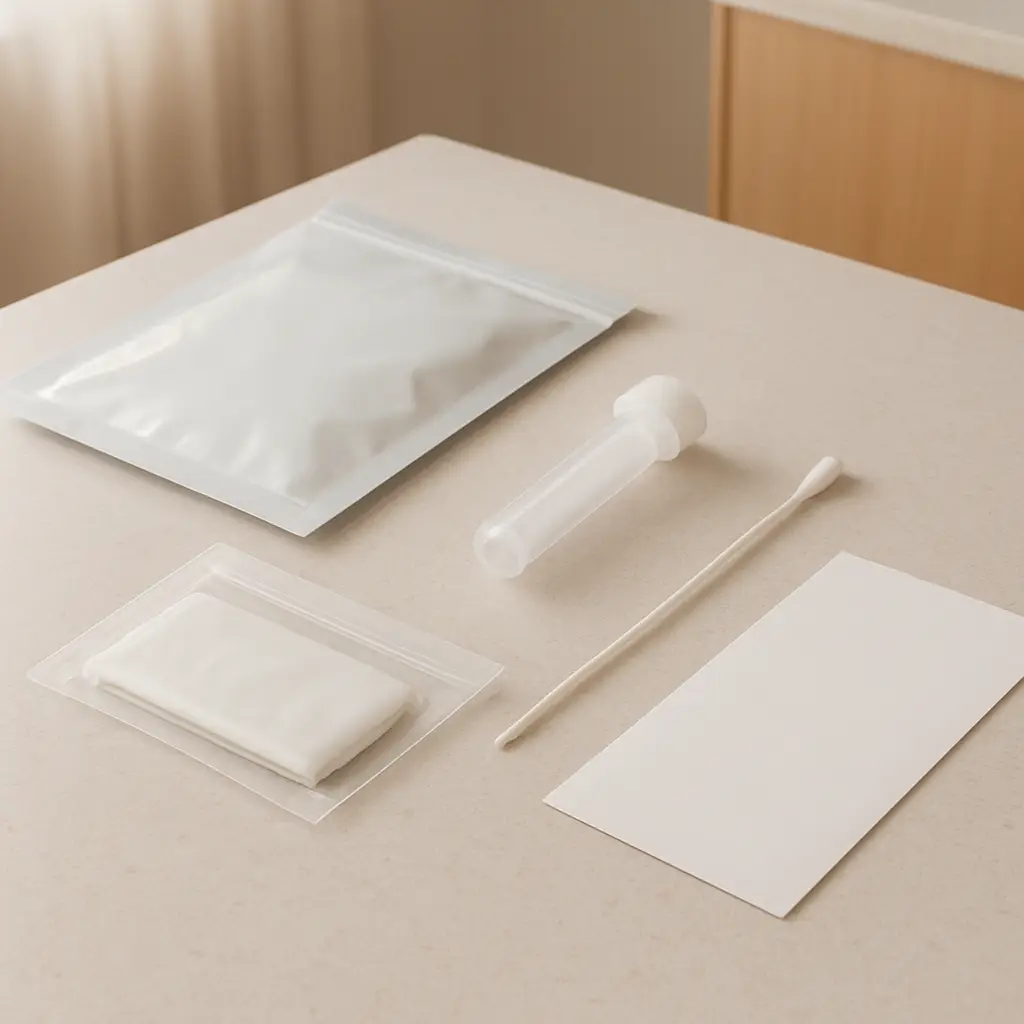
Review the printed or digital instructions before collecting. This helps you understand the container, sample amount, labeling, and return packaging.
Avoid urine, toilet water, soap, tissue, cleaning products, or other materials mixing with the sample. Clean handling helps protect sample quality.
Use the collection tools and container included with your kit. Do not replace kit materials with random household containers unless your instructions say otherwise.
Close the container firmly and place it into the packaging exactly as directed. Return packaging is part of the sample handling process.
Follow the return instructions, timing, and mailing steps provided with the kit. If you are unsure about shipping, review shipping.
After the lab receives the sample, processing begins. You can learn what may appear next on the sample report page.
Small mistakes can make sample handling harder. The goal is to keep the sample separate from anything that could interfere with testing or create confusion during processing.
| Avoid this | Why it matters |
|---|---|
| Urine or toilet water | Extra liquid or contamination may affect whether the sample can be handled properly. |
| Soap, tissue, or cleaning products | These materials are not part of the sample and should not mix with the container contents. |
| Guessing the sample amount | The kit instructions should explain how much is needed. Follow that guidance instead of estimating. |
| Leaving the container open | The container should be closed as directed to reduce leakage risk and protect sample handling. |
| Changing the return packaging | Use the return materials provided with the kit unless the instructions give another approved method. |
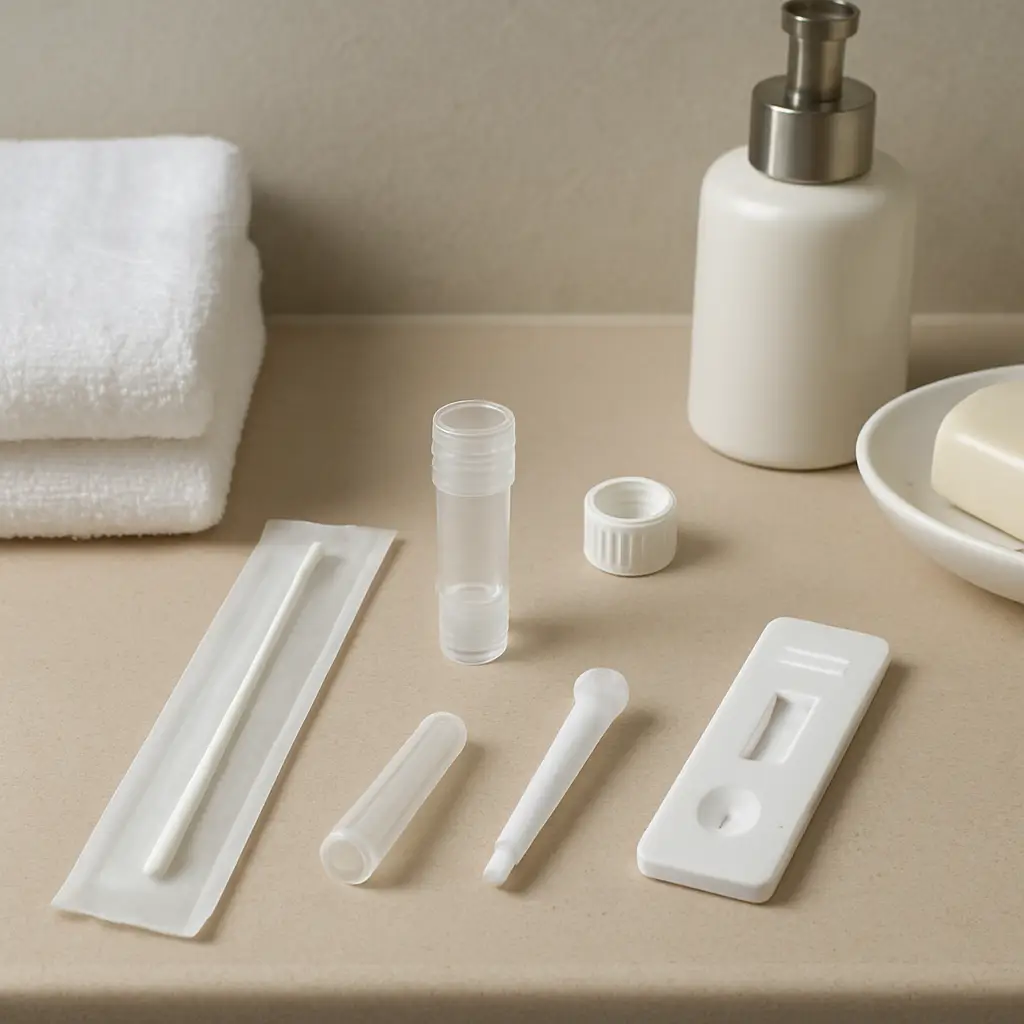
Sample collection is only the first step. After return shipping and processing, the report may organize gut microbiome patterns, bacteria groups, diversity notes, and general wellness explanations.
Before your results arrive, it can help to review microbiome analysis, science, and glossary pages so report language feels easier to understand.
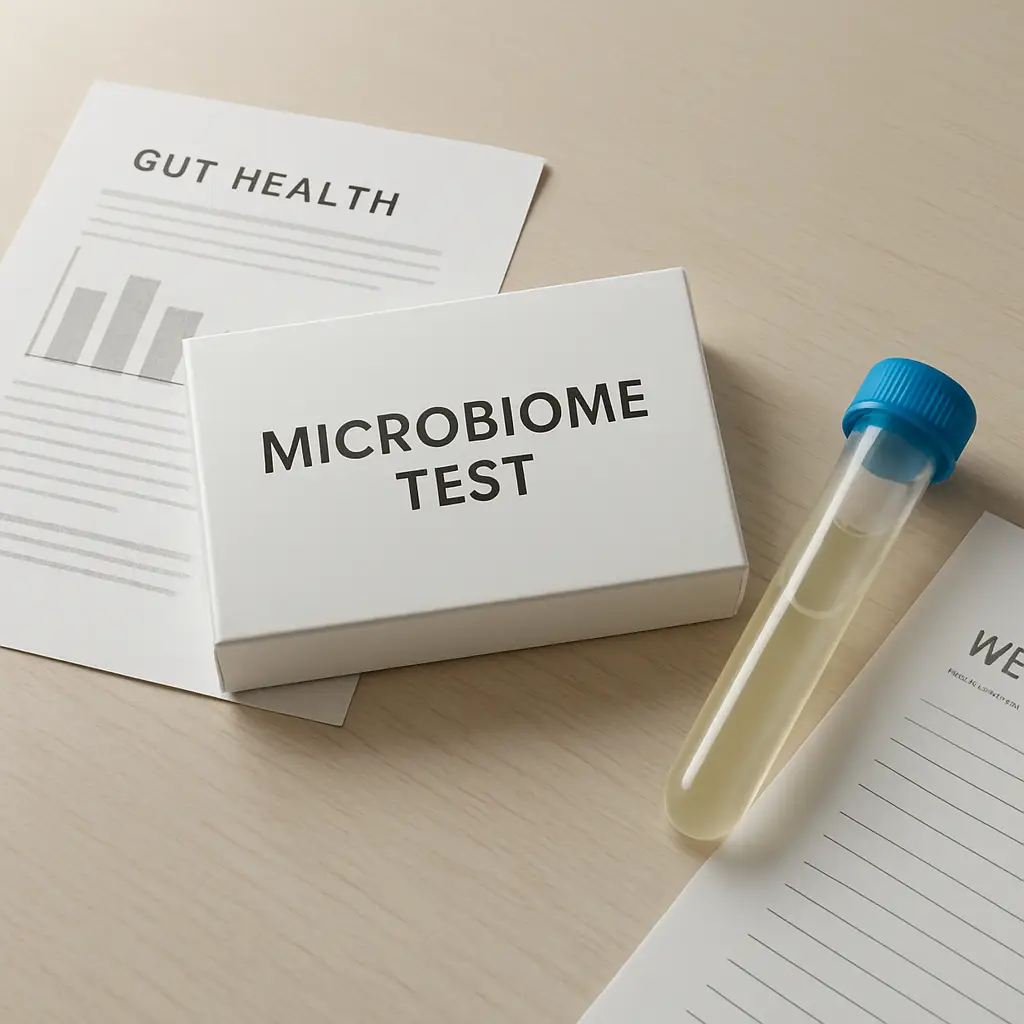
Review the at-home microbiome test page if you want a broader look at home testing before choosing a kit.
Read how it works so the order, collection, return, and report steps are easier to follow.
Check shipping if you have questions about mailing, return steps, or timing after collection.
Use the sample report to understand the format and type of information you may see later.
Visit best microbiome test if you are comparing different test styles or report expectations.
Read microbiome testing limitations so results are not confused with a diagnosis.
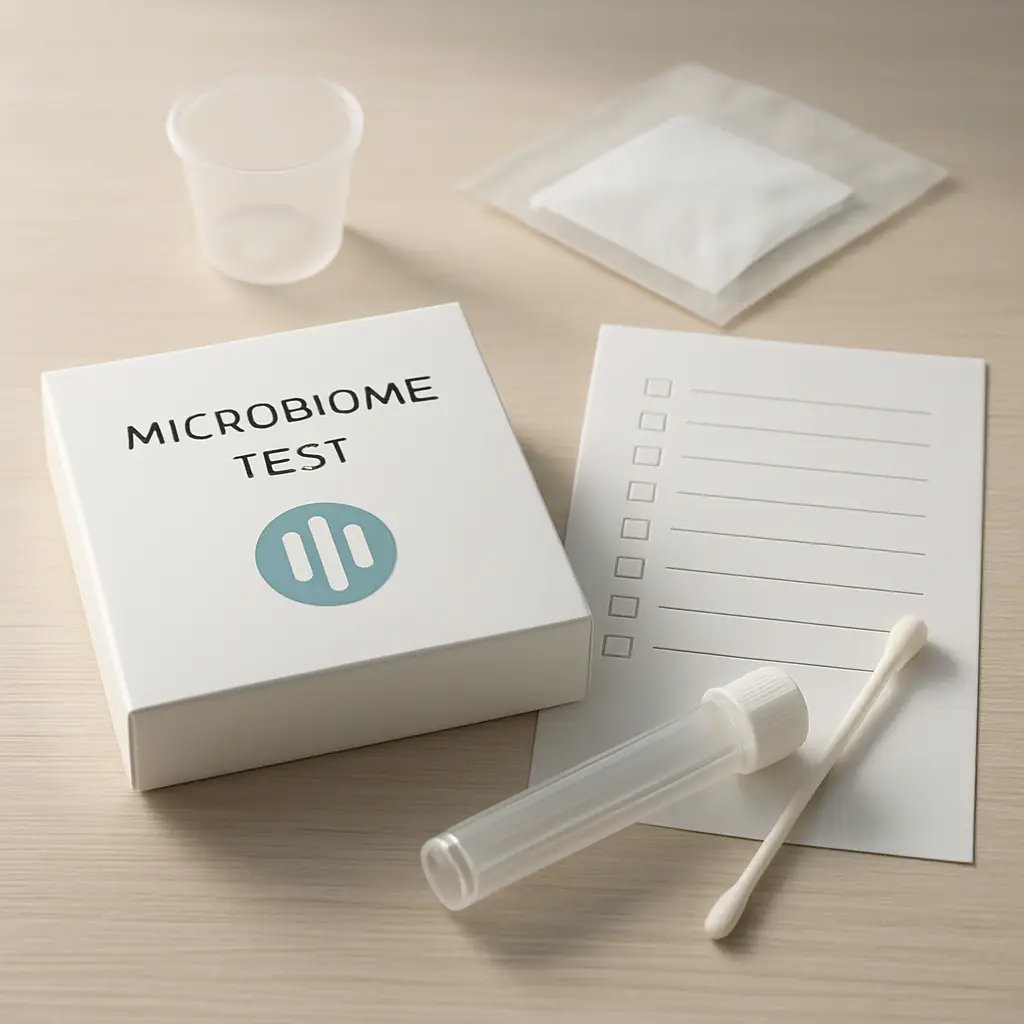
Use this checklist as a simple reminder before starting. It does not replace your kit instructions, but it can help you avoid common problems.
At-home sample collection is designed to feel private and manageable. If you want to understand how personal information is discussed, review privacy and data.
If you are still deciding, compare the process with pricing expectations on the microbiome test cost page before you order a kit.
Read the kit instructions first, prepare a clean collection setup, collect the sample as directed, seal the container, and return it using the provided packaging and shipping instructions.
Avoid mixing the sample with urine, toilet water, soap, tissue, cleaning products, soil, or other materials. A contaminated sample may not be useful.
No. This page provides general education only. Always follow the specific instructions included with the test kit you receive.
After the sample is returned and processed, your report may become available digitally. You can review the results page to understand what that stage may involve.
No. A microbiome sample can support general wellness education and report-based learning, but it should not be used to diagnose symptoms or replace medical care.
Understanding the sample collection process can make the at-home microbiome testing experience feel simpler from the first step to the final report.
Continue with How It Works, review the Sample Report, or visit Order Kit when you are ready.